Connection to the Firebird database in Visual Studio 2017 via the DDEX provider
Initial conditions
Installation of DDEX provider
Connection setup
Uninstallation of DDEX provider
[UPD 2019-04-11] This instruction compatible with Visual Studio 2019.
[UPD 2020-03-25] Since version 1.17.0.4032 [R1], the installer can automatically install and uninstall VSIX packages.
Introduction
This document describes the setup of the DDEX provider for Visual Studio 2017 and Data provider for FW4.6.2.
You can setup the DDEX support for Data providers compiled for FW4.5.0 and FW4.7.2 in the same way. The DDEX providers may be installed together.
It is also possible to install the DDEX providers tied to the debug assemblies of Data providers.
You may see this instruction as video on YouTube:
Initial conditions
On the computer must be installed:
- Visual Studio 2017
- IBProvider v3 [32bit]
Also require the available Firebird SQL Server.
Installation of DDEX provider
Download and run the EXE-installer of the ADO.NET provider.
Select the following components:
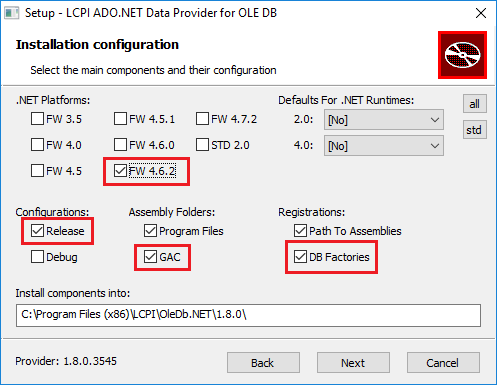
If you need a Data provider for another version of the .NET Framework (for example, 4.5 or 4.7.2), select it. If you want to use a debug Data provider, select «Debug» checkbox.
Click «Next».
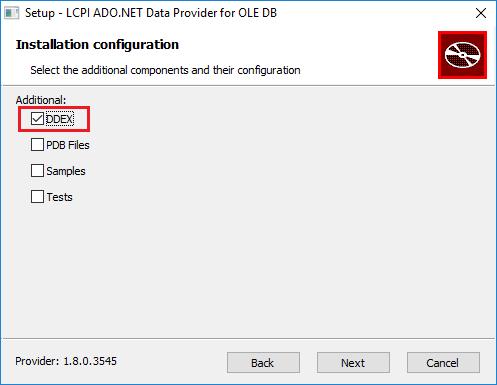
Install the ADO.NET provider.
After installation, the VSIX files for installing DDEX providers will locate in the «c:\Program Files (x86)\LCPI\OleDb.NET\1.8.0\VS2017» directory(*):
| VSIX file | Data provider platform | DDEX provider platform |
| Release assemblies | ||
| lcpi.vs.data.providers.oledb.v2.integrator.vs2017-net4_5_0.net4_6_2.vsix | .NET FW v4.5 | .NET FW v4.6.2 |
| lcpi.vs.data.providers.oledb.v2.integrator.vs2017-net4_6_2.net4_6_2.vsix | .NET FW v4.6.2 | .NET FW v4.6.2 |
| lcpi.vs.data.providers.oledb.v2.integrator.vs2017-net4_7_2.net4_7_2.vsix | .NET FW v4.7.2 | .NET FW v4.7.2 |
| Debug assemblies | ||
| lcpi.vs.data.providers.oledb.v2.integrator.vs2017-net4_5_0.net4_6_2.debug.vsix | .NET FW v4.5 | .NET FW v4.6.2 |
| lcpi.vs.data.providers.oledb.v2.integrator.vs2017-net4_6_2.net4_6_2.debug.vsix | .NET FW v4.6.2 | .NET FW v4.6.2 |
| lcpi.vs.data.providers.oledb.v2.integrator.vs2017-net4_7_2.net4_7_2.debug.vsix | .NET FW v4.7.2 | .NET FW v4.7.2 |
Run cmd.exe with administrator privileges.
Run from this cmd.exe console the file «c:\Program Files (x86)\LCPI\OleDb.NET\1.8.0\VS2017\lcpi.vs.data.providers.oledb.v2.integrator.vs2017-net4_6_2.net4_6_2.vsix».
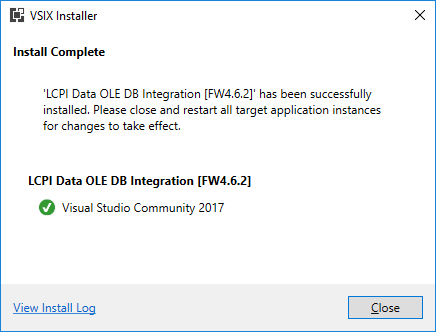
The VSIX installation window will appear:
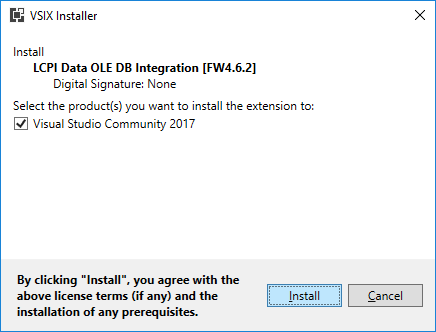
Perform installation of the extension:
Connection setup
Run Visual Studio 2017.
«Extensions and Updates» list of Visual Studio will display installed extension with the DDEX provider:
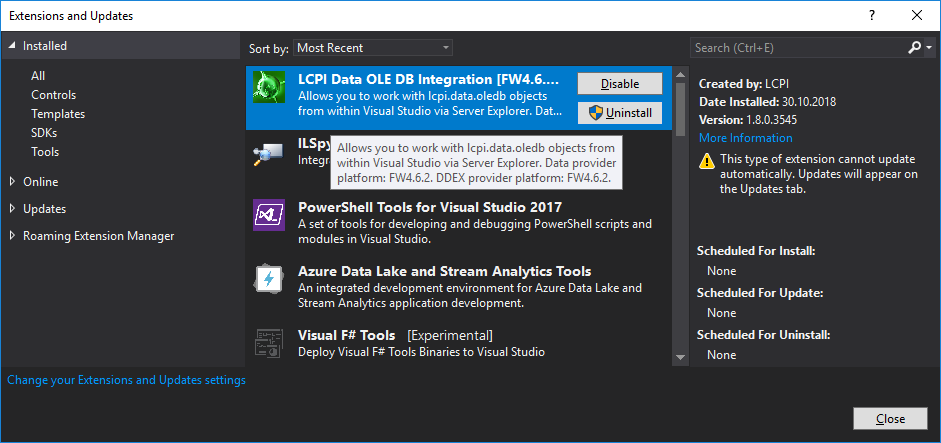
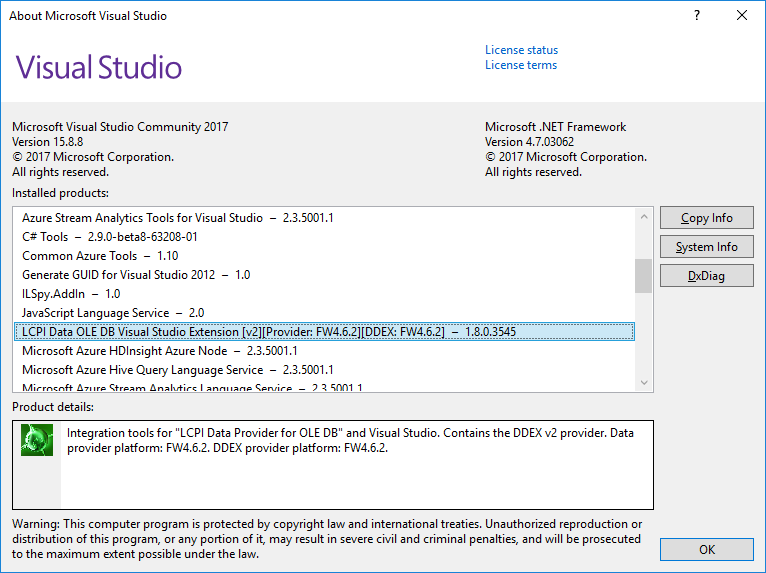
The installed extension with the DDEX provider will be displayed in list of installed products in «About Microsoft Visual Studio» dialogue, too:
Open «Server Explorer» window and click the «Connect to Database» button. The data source selection window will open:
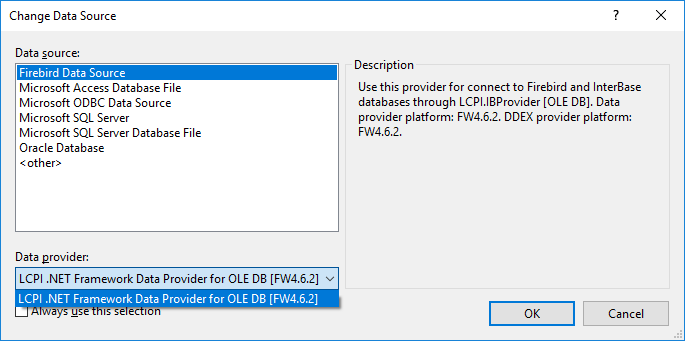
Select «Firebird Data Source» and «LCPI .NET Framework Data Provider for OLE DB [FW4.6.2]» and click «OK».
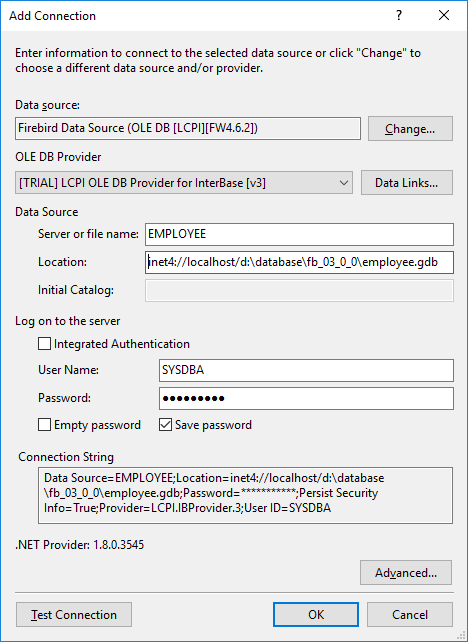
You must specify the main connection parameters in the opened window:
Most likely, you did not specify the registration of «DB Factories» in the installer.
Also, perhaps, the reason is that the system list of ADO.NET data providers contains outdated entries. Check the contents of the file «c:\WINDOWS\Microsoft.NET\Framework\v4.0.30319\Config\machine.config» in the «system.data» section.
In some incomprehensible cases, the problem with the empty list of OLE DB providers is solved by re-entering the system (in the extreme case, restarting the computer).
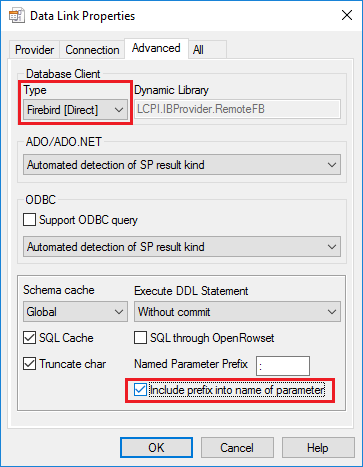
Now click the «Data Links …» button and configure additional parameters:

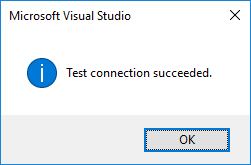
Close «Data Link Properties» dialog box by pressing «OK» and click «Test Connection»:
Close «Add Connection» dialog box by clicking «OK».
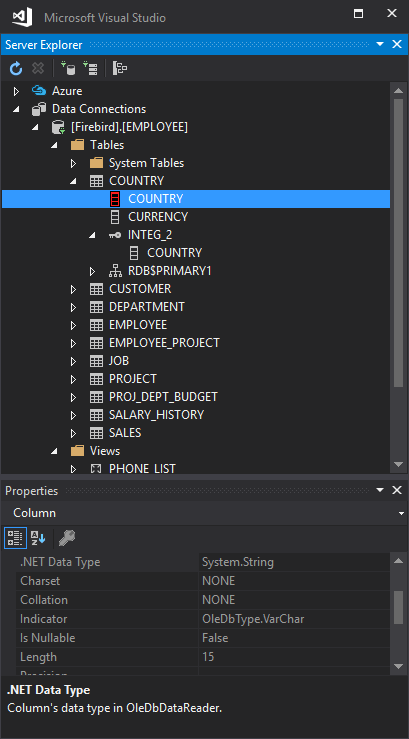
The «[Firebird].[EMPLOYEE]» node, linked to the Firebird database, appears in the «Server Explorer» window:
Uninstallation of DDEX provider
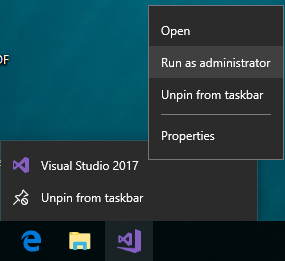
1. Run Visual Studio 2017 with administrator rights.
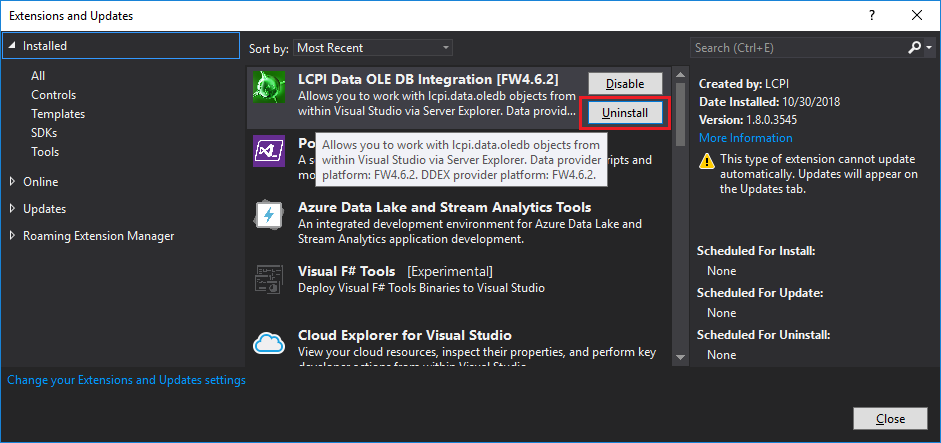
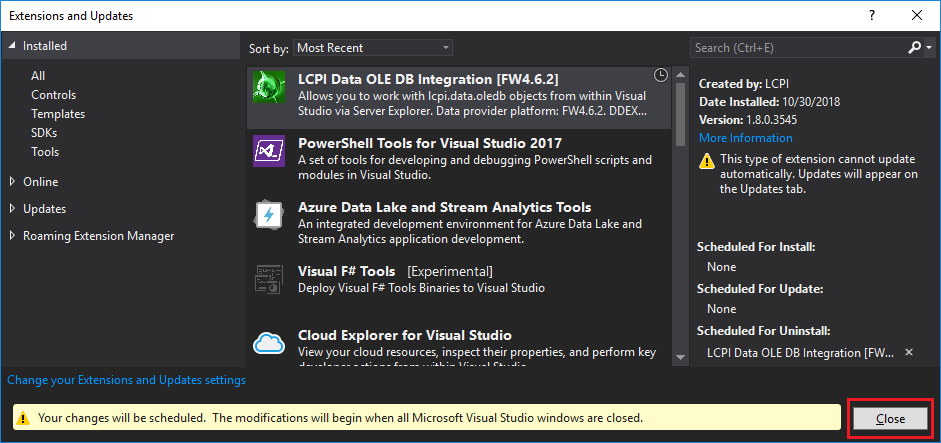
2. Select in the menu «Tools->Extensions and Updates…».
3. Find «LCPI Data OLE DB Integration [FB4.6.2]» in the list.
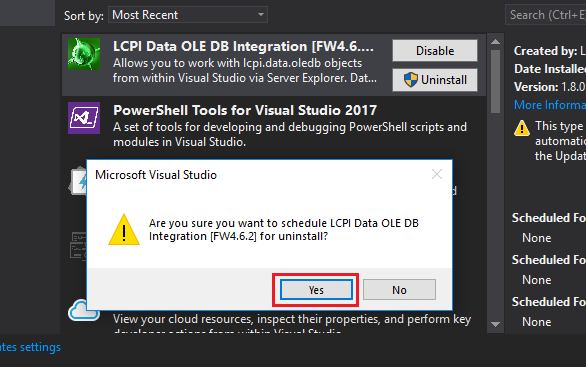
4. Click «Uninstall».
5. Click «Yes» in the dialog that appears.
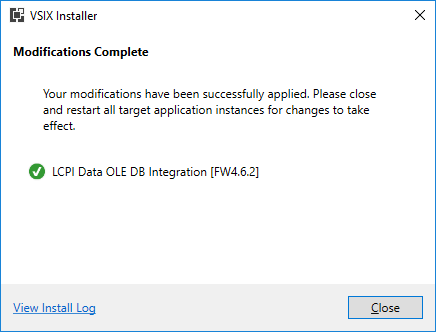
6. Click on the «Close» button in the dialog.
7. Close Visual Studio.
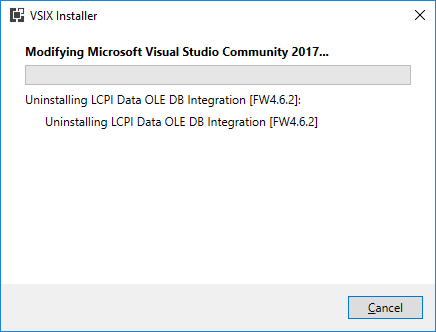
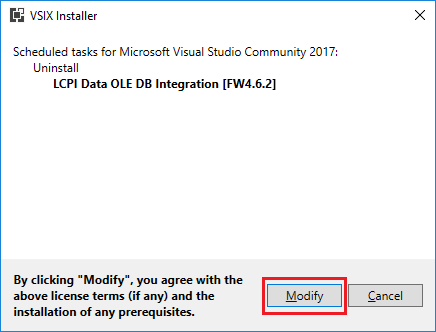
8. You should see the modification dialogue Visual Studio «VSIX Installer».
9. Click «Modify».
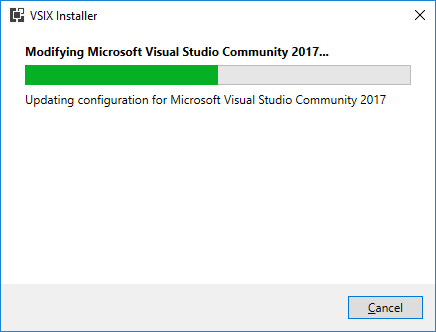
10. Wait for the process to complete.