SSIS. Using «LCPI ADO.NET Data Provider for OLE DB» as a data recipient
This document provides a step-by-step guide on creating an SSIS project for transferring data from a text file to a Firebird database using «LCPI ADO.NET Data Provider for OLE DB» and «LCPI.IBProvider.5».
The source text file «flat_file1.csv» contains data:
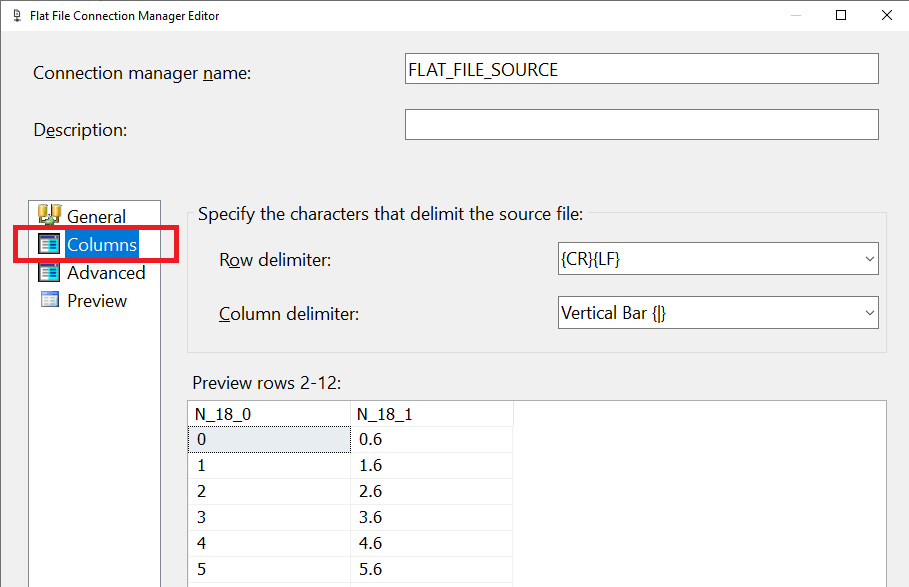
N_18_0|N_18_1
0|0.6
1|1.6
2|2.6
3|3.6
4|4.6
5|5.6
6|6.6
7|7.6
8|8.6
9|9.6
10|10.6
The destination database (with the third dialect) contains a «NUM» table with columns:
N_18_0 NUMERIC(18,0)
N_18_1 NUMERIC(18,1)
The following must be installed on the computer:
- Visual Studio 2019
- SQL Server Integration Services Projects
- Firebird SQL Server
- LCPI.IBProvider.5 (32bit и 64bit)
- LCPI ADO.NET Data Provider v1.20+ (FW4.8, DDEX для VS2019)
If you plan to run the SSIS package outside of Visual Studio, you must also install the MSSQL component «Integration Services».
Creating an SSIS Project
1. Launch Visual Studio 2019.
2. Select the item «Create a new project»

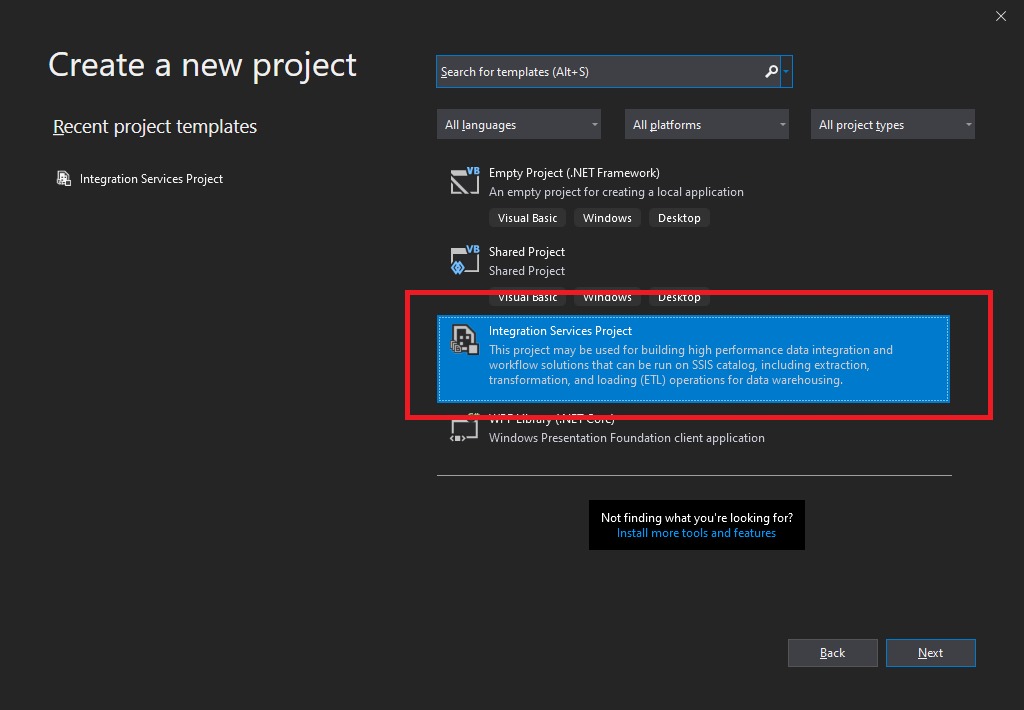
3. Find and select the «Integration Services Project».
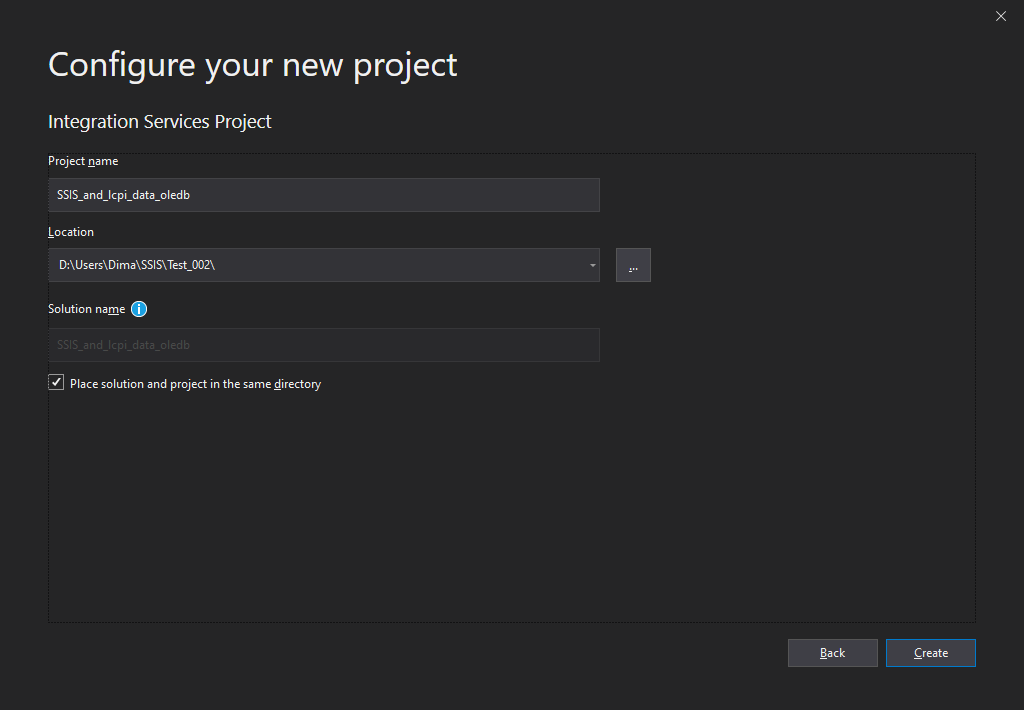
4. Specify the name and location of the project. Click «Create».
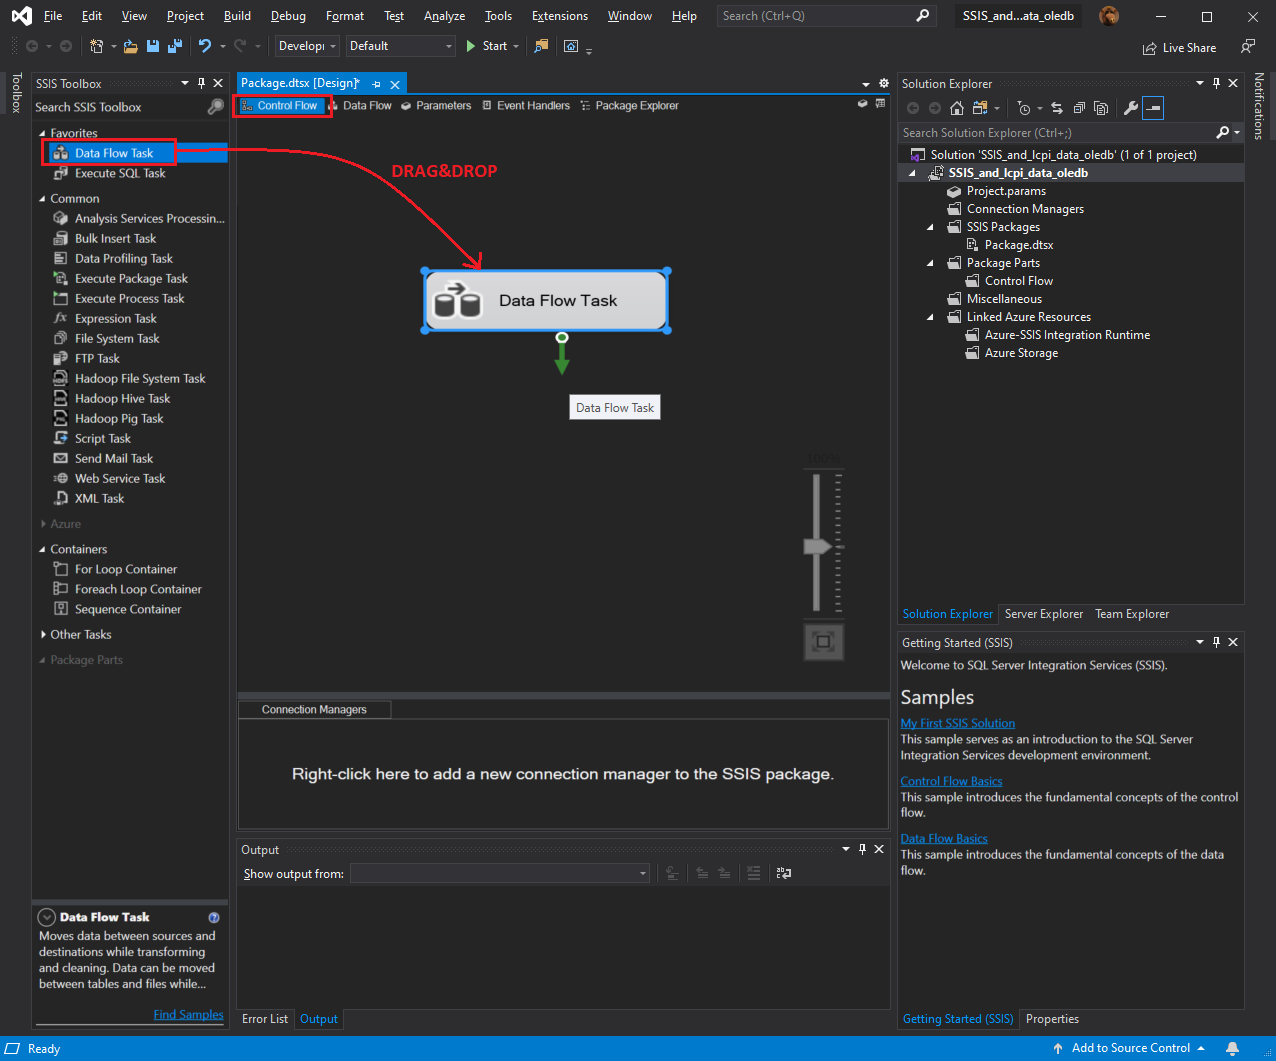
5. From the «SSIS Toolbox» panel, drag «Data Flow Task» to the «Control Flow» page.
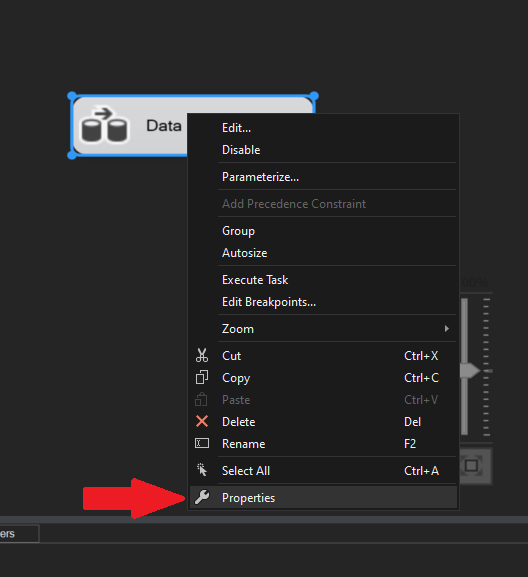
6. Select «Data Flow Task», open its context menu and select «Properties».
7. In the list of properties we find the «Transactions» section. We expose:
- IsolationLevel=RepeatableRead
- TransactionOption=Required
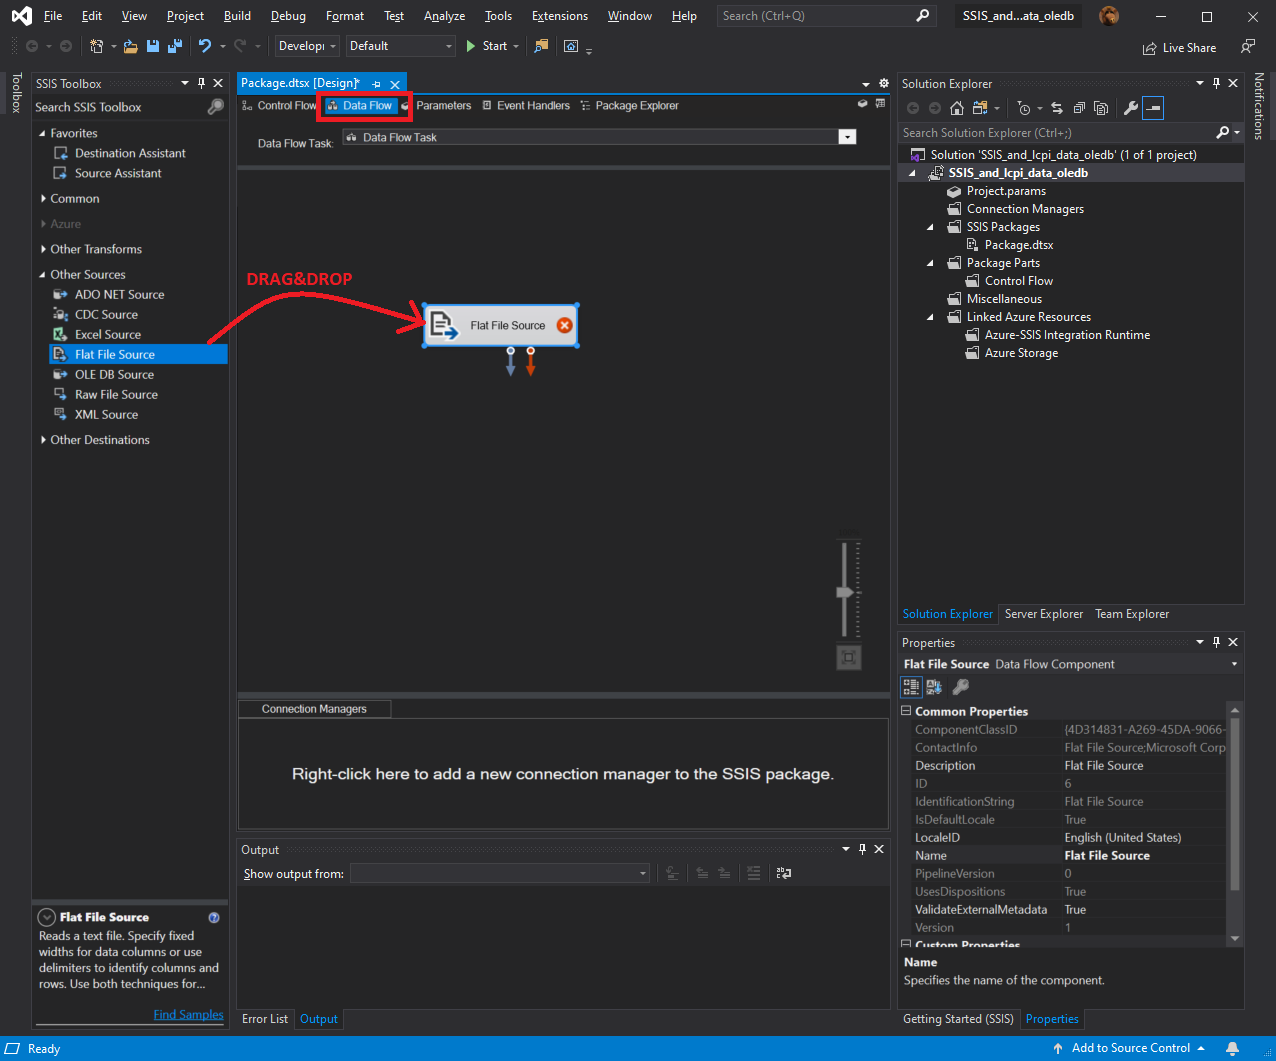
8. Switch to the «Data Flow» tab.
9. From the «SSIS Toolbox» panel, drag «Flat File Source».
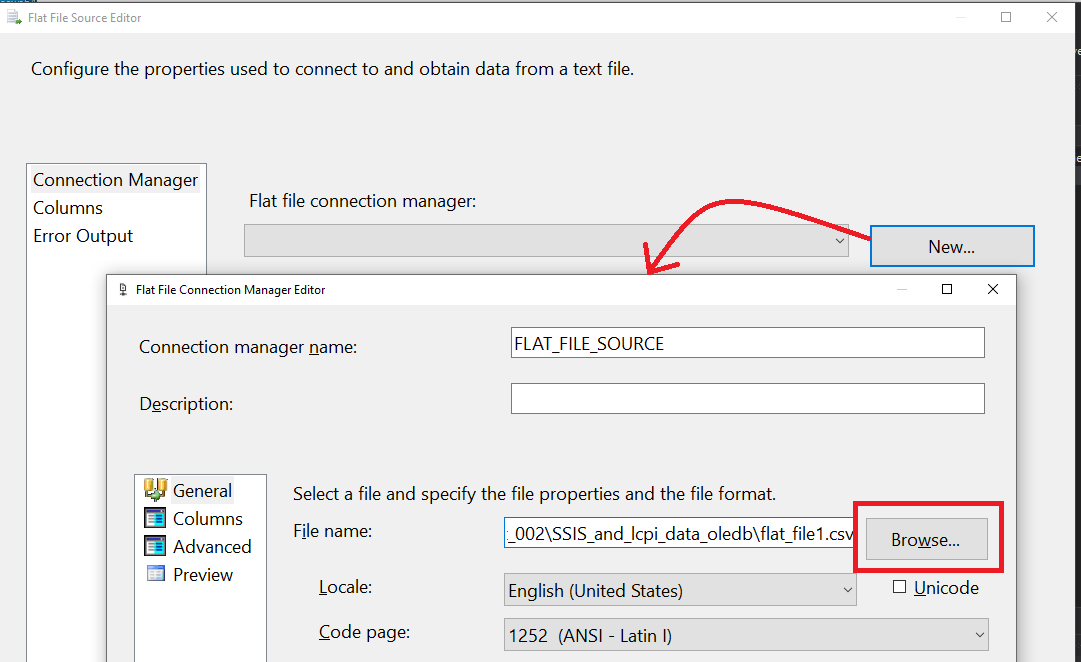
10. Open the «Flat File Source» properties, click the «New» button and configure the data source.
11. Switch to the «Columns» section for (automatic) generation of source column descriptions.
12. Close the «Flat File Connection Manager Editor» by «OK».
13. In the «Flat File Source Editor» window, in the «Flat file connection manager» drop-down list, the created manager «FLAT_FILE_SOURCE» will be selected.
14. Close the «Flat File Source Editor» by «OK».
At this point, we have finished setting up the data source. We proceed to the configuration of the data recipient – «ADO NET Destination» based on «lcpi.data.oledb».
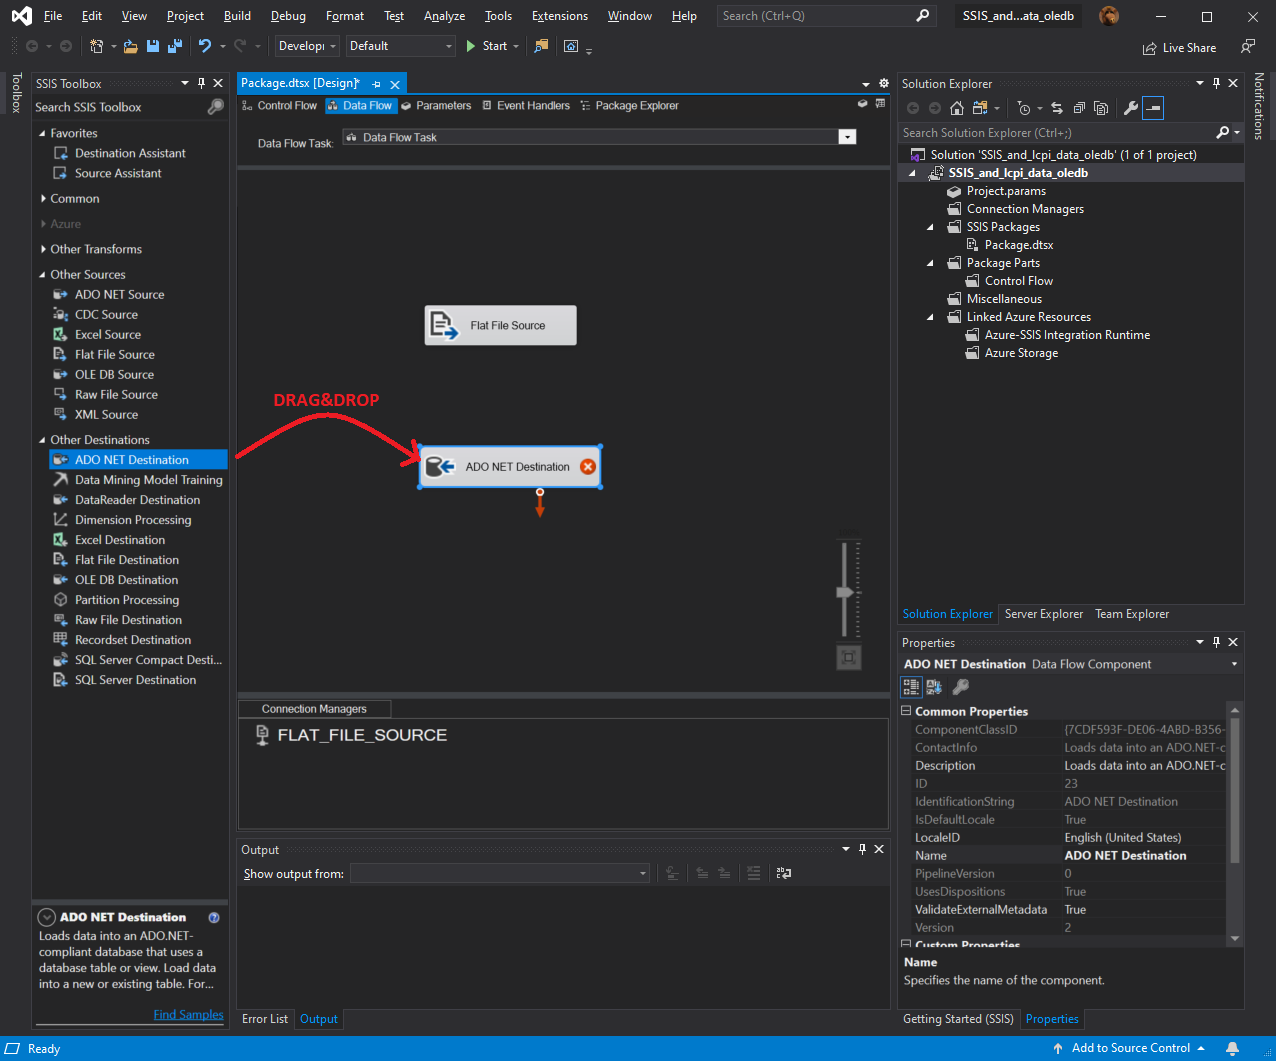
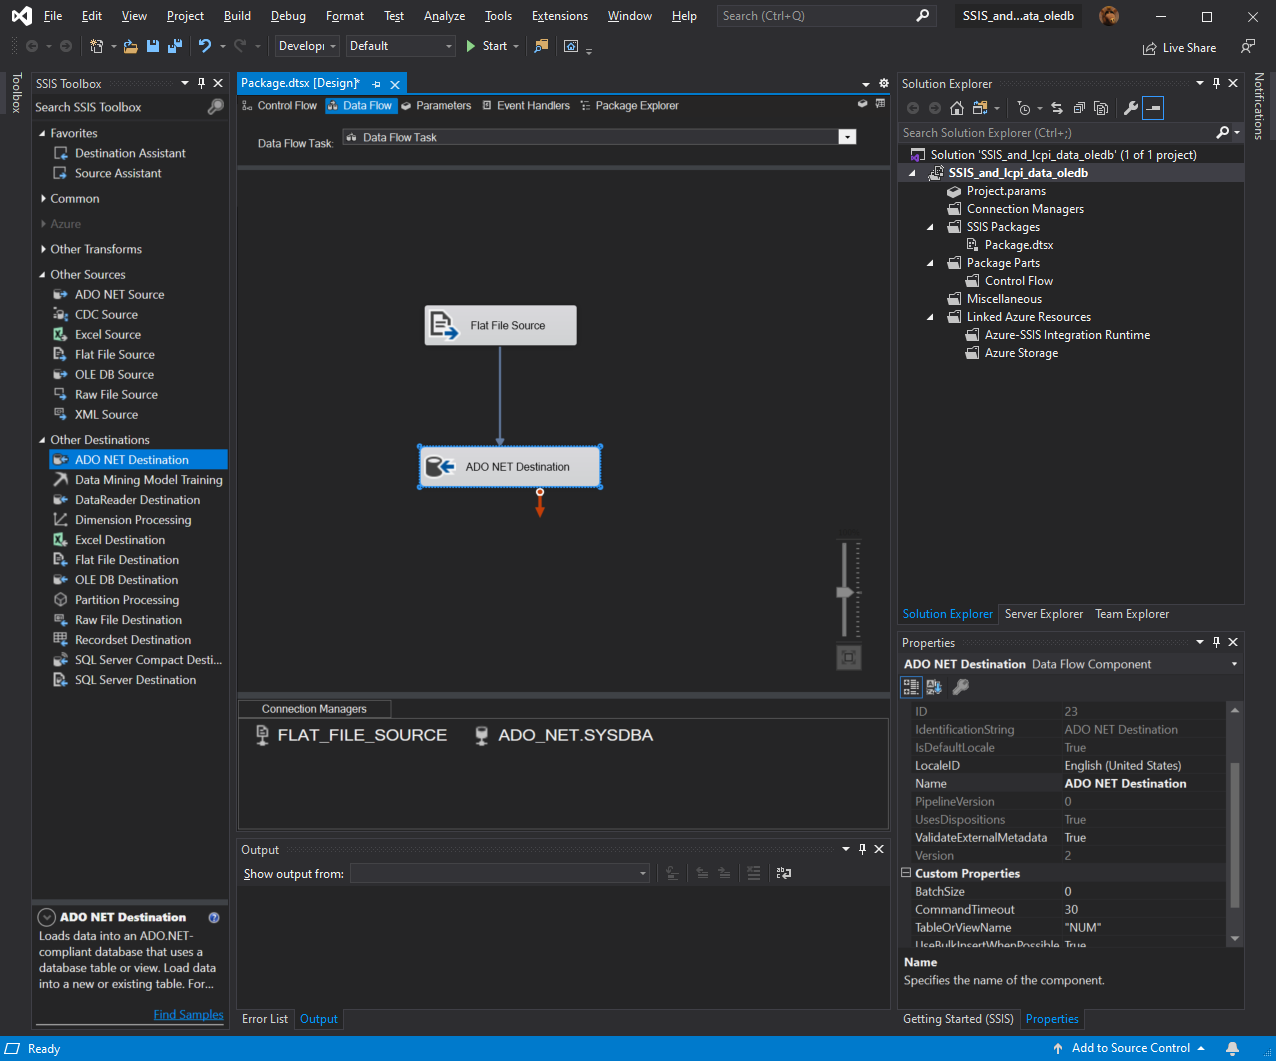
15. From the «SSIS Toolbox» panel, drag «ADO NET Destination».
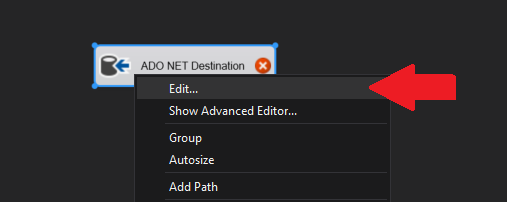
16. Select the added object «ADO NET Destination», open its context menu and select «Edit».
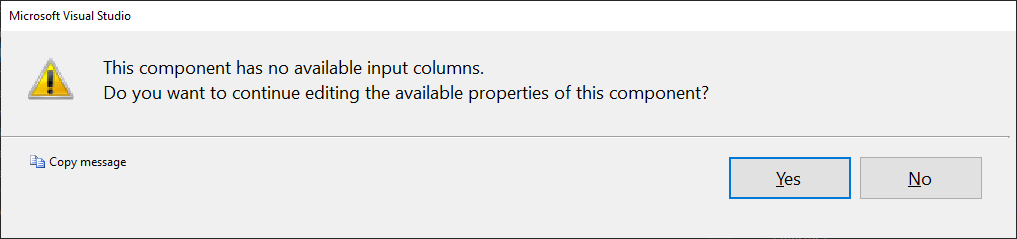
17. A warning window will appear. Click «OK».
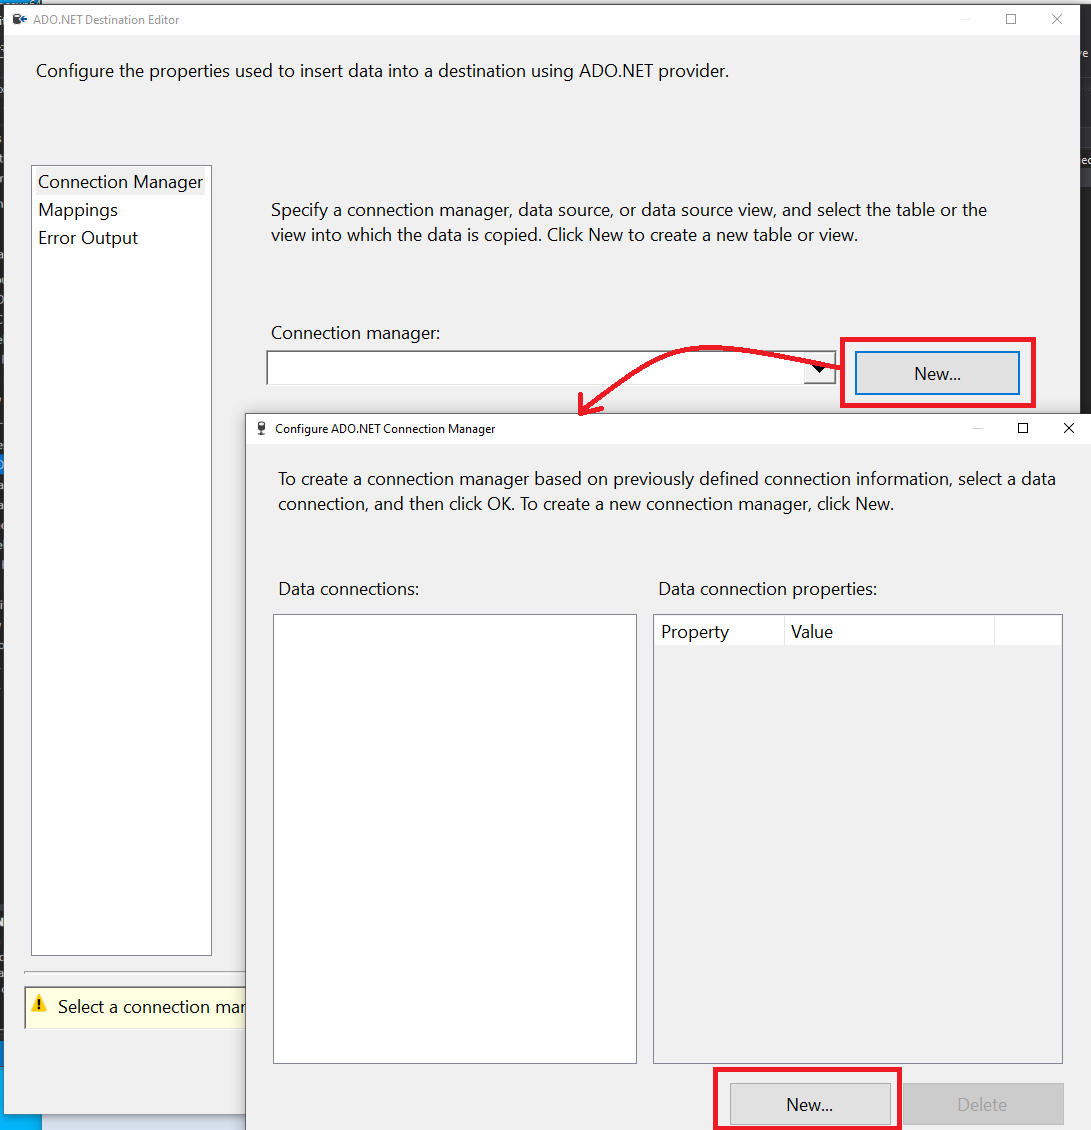
18. In the «ADO.NET Destination Editor» dialog that opens, opposite the «Connection Manager» drop-down list, click on the «New» button.
19. The «Configure ADO.NET Connection Manager» dialog box opens. Click on the «New» button.
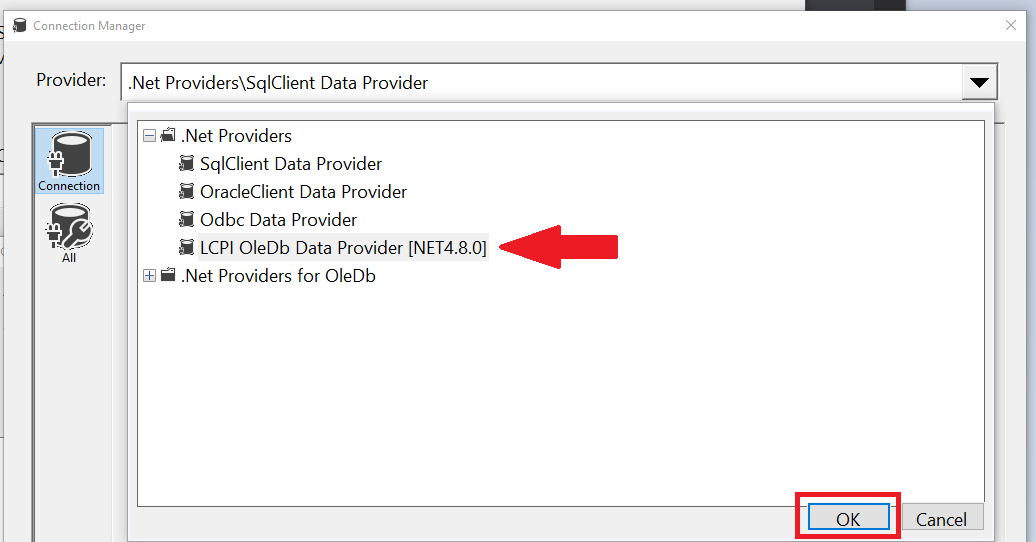
20. The «Connection Manager» dialog will open. In the list of providers, select «LCPI OleDb Data Provider [NET4.8.0]» and click «OK».
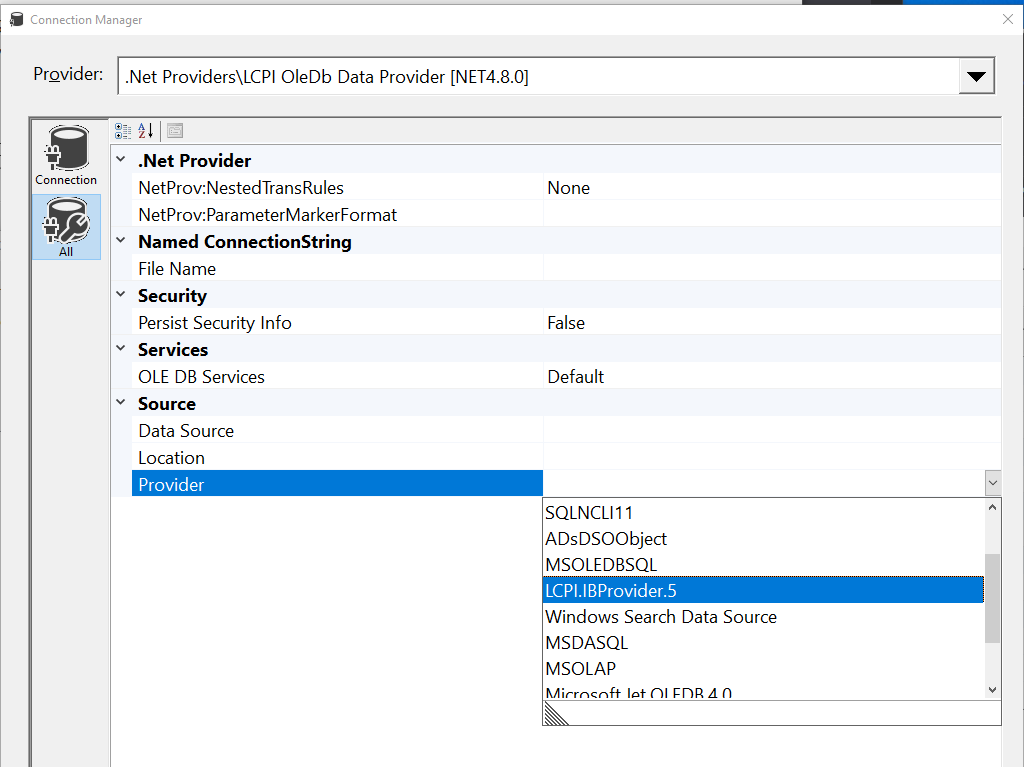
21. In the list of properties of the ADO.NET provider, we find the «Provider» property and select «LCPI.IBProvider.5» in it.
22. Now configure the connection properties:
- Location=”inet4://home4/d:\database\ram\ibp_test_fb30_d3.gdb” (without quotes)
- Data Source=ADO_NET
- User ID=SYSDBA
- Password=masterkey
- Persist Security Info=true
- auto_commit=true
- dbclient_type=fb.direct
- named_param_rules=1
- NetProv:ParameterMarkerFormat=”:{0}” (without quotes)
23. Click «Test Connection» to check the connection settings. If connection errors occur, then go back to step 22 and check the parameters.
24. Close the «Connection Manager» dialog by «OK».
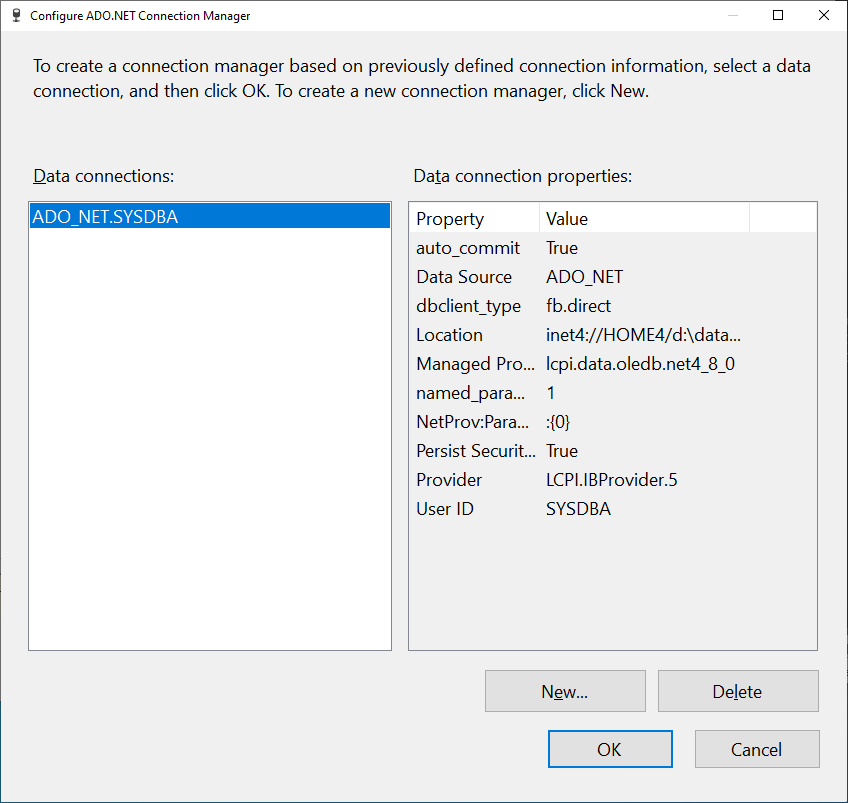
25. In the «Configure ADO.NET Connection Manager» dialog, select «ADO_NET.SYSDBA» and click «OK».
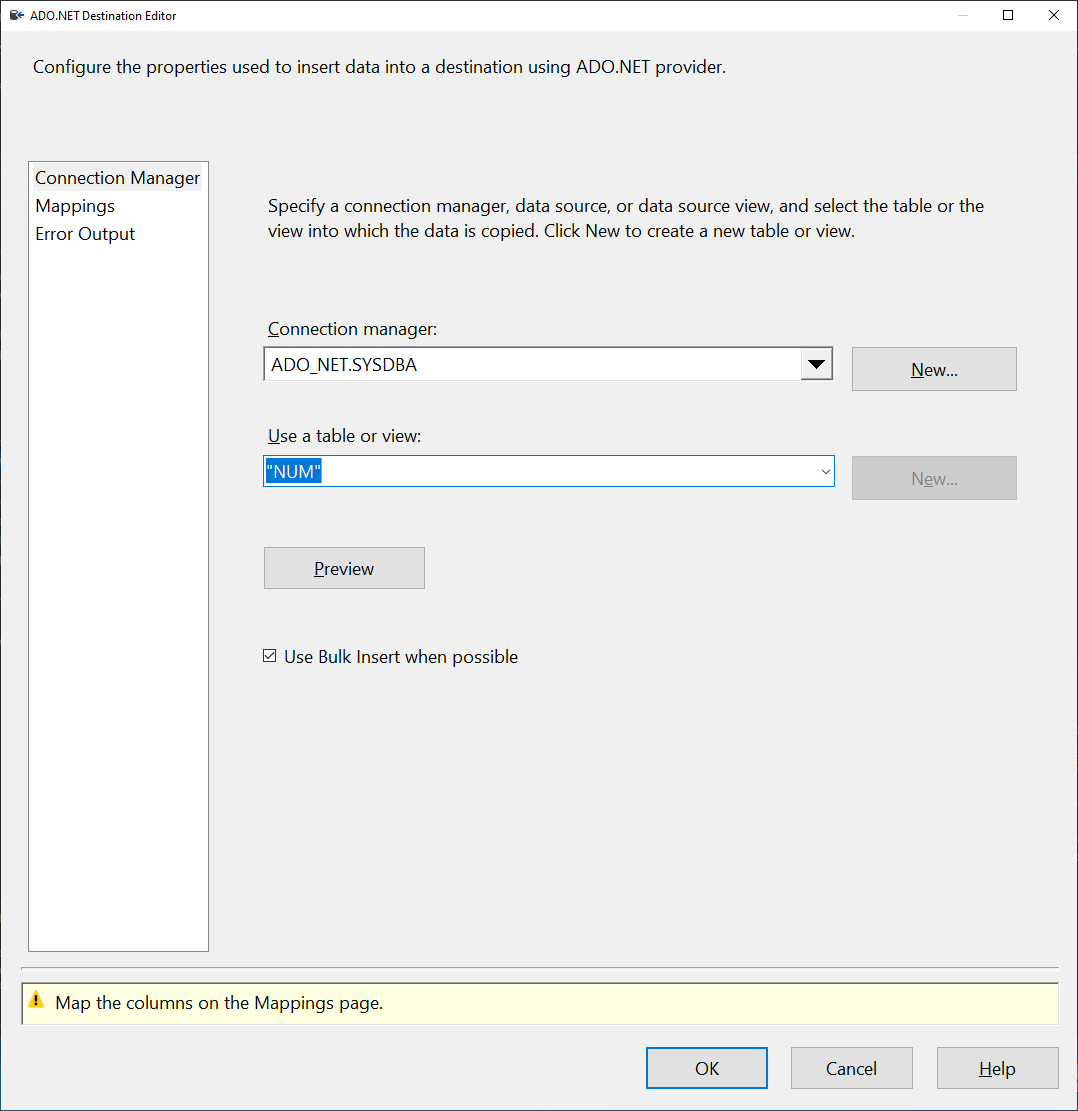
26. In the «ADO.NET Destination Editor» dialog, in the «Use a table or view» drop-down list, select the destination table – «NUM» and close it by «OK».
27. On the «Data Flow» tab, select the «Flat File Source» object and connect it to the «ADO.NET.Destination» object.
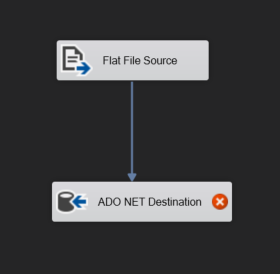
28. Again select «ADO.NET Destination», select «Edit» in the context menu and go to the «Mappings» section. The IDE will establish links between columns with identical names.
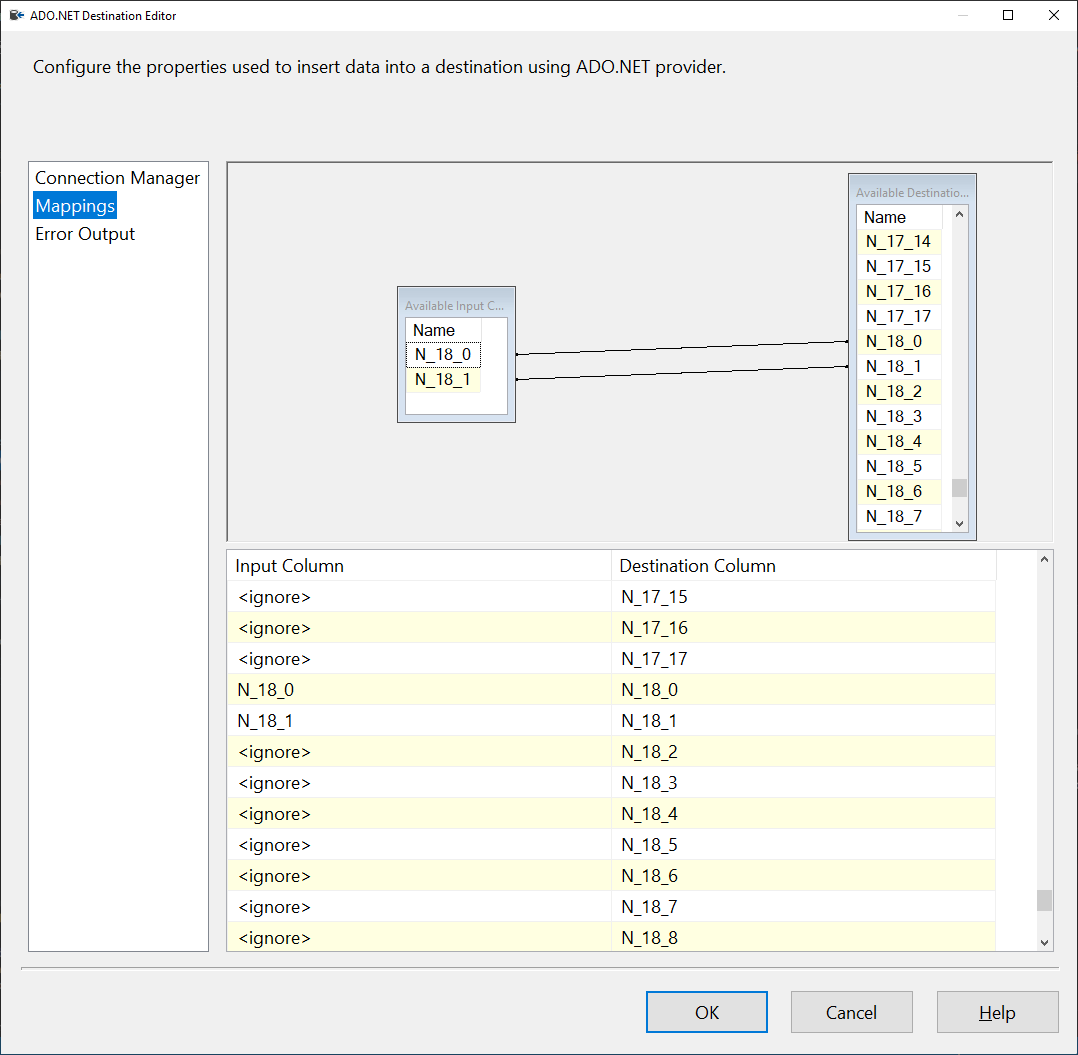
29. Close the dialog by «OK» and get the fully configured task of moving data.
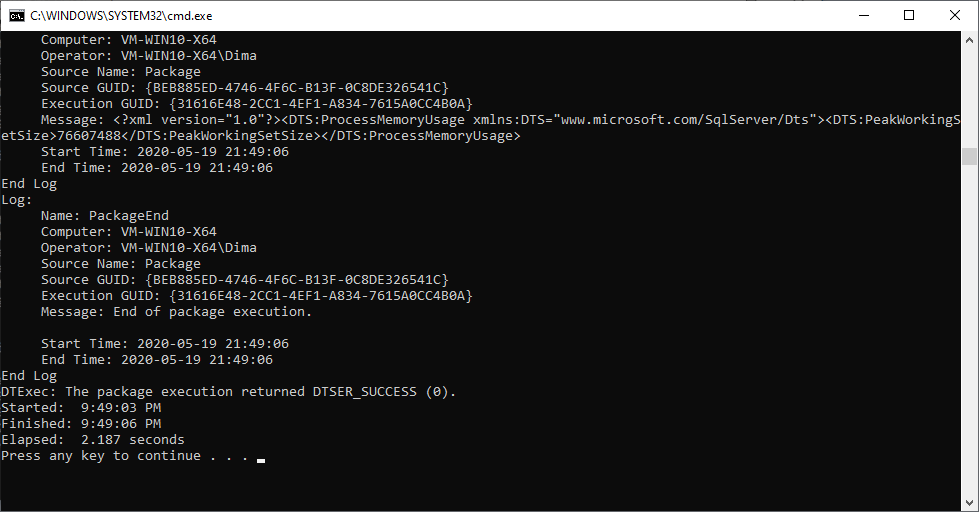
30. On the toolbar, click «Start» to start the task.
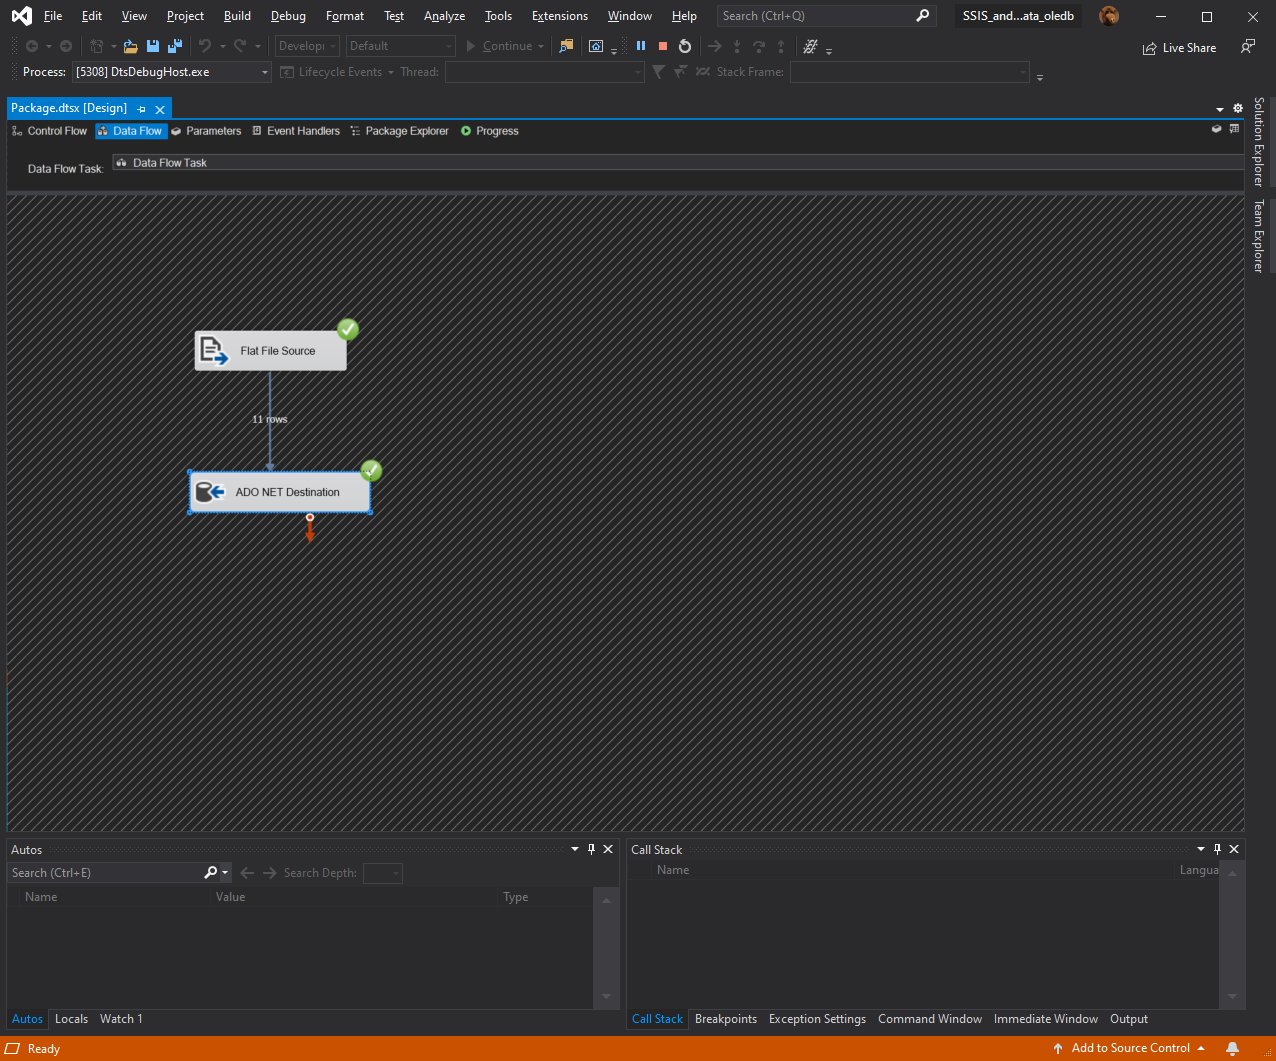
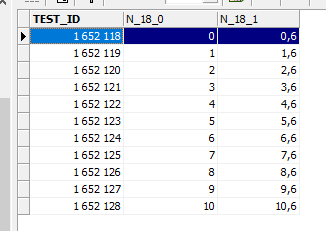
31. Everything, the contents of the file «flat_file1.csv» is added to the table «NUM».
You can run IBE and check the contents of table «NUM».
32. If the MSSQL «Integration Services» component is installed on the computer, then the project can be launched from Visual Studio via «Ctrl+F5».